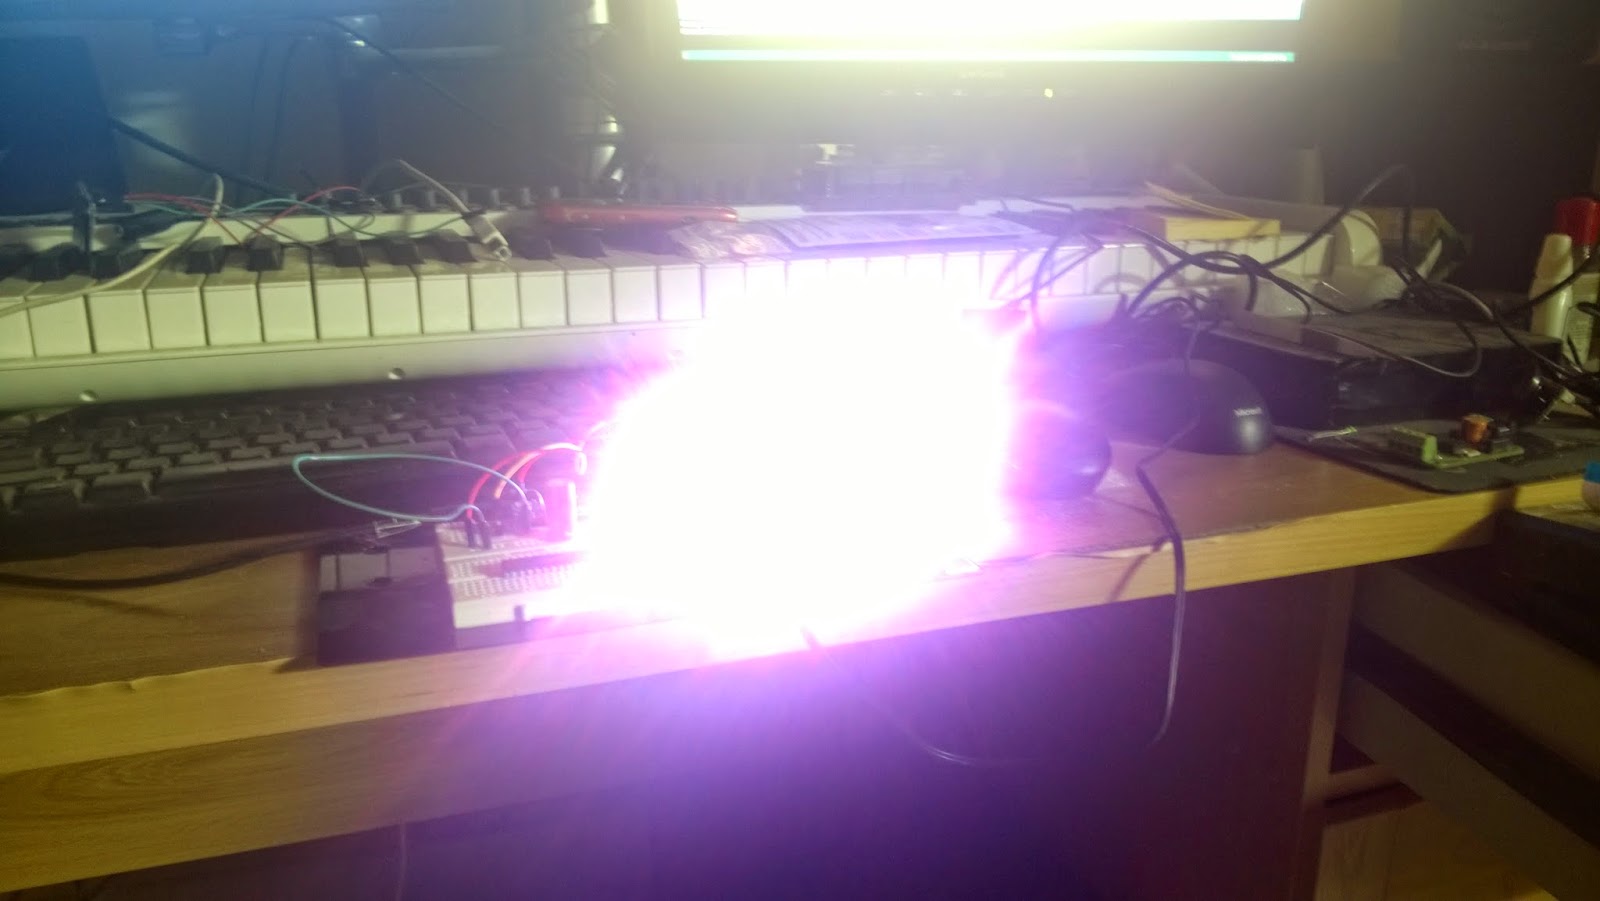
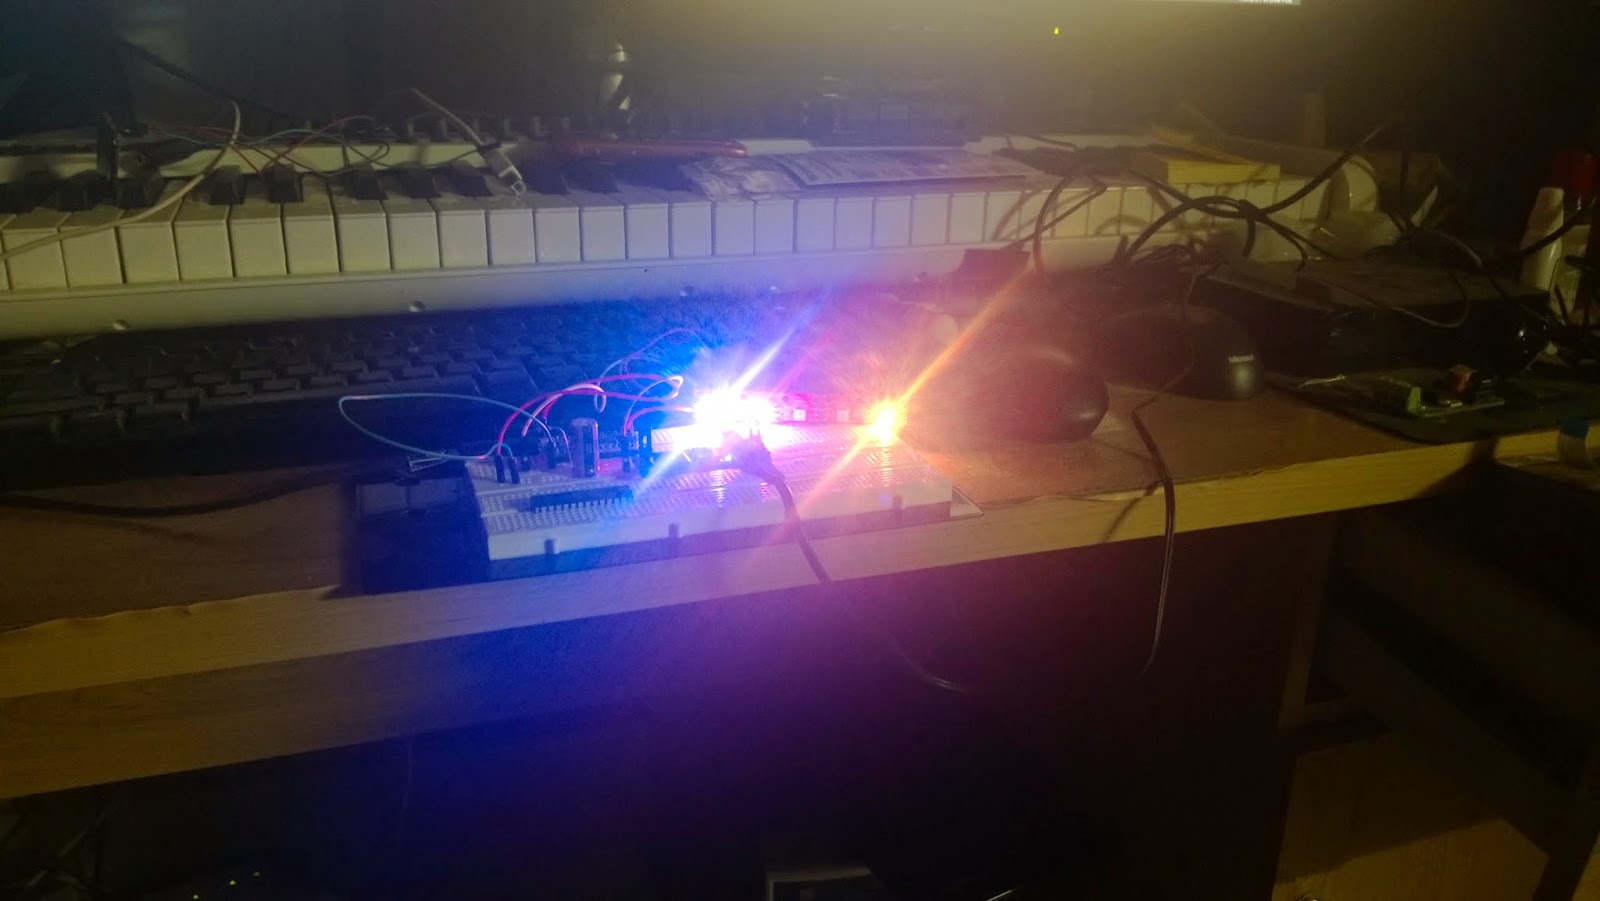
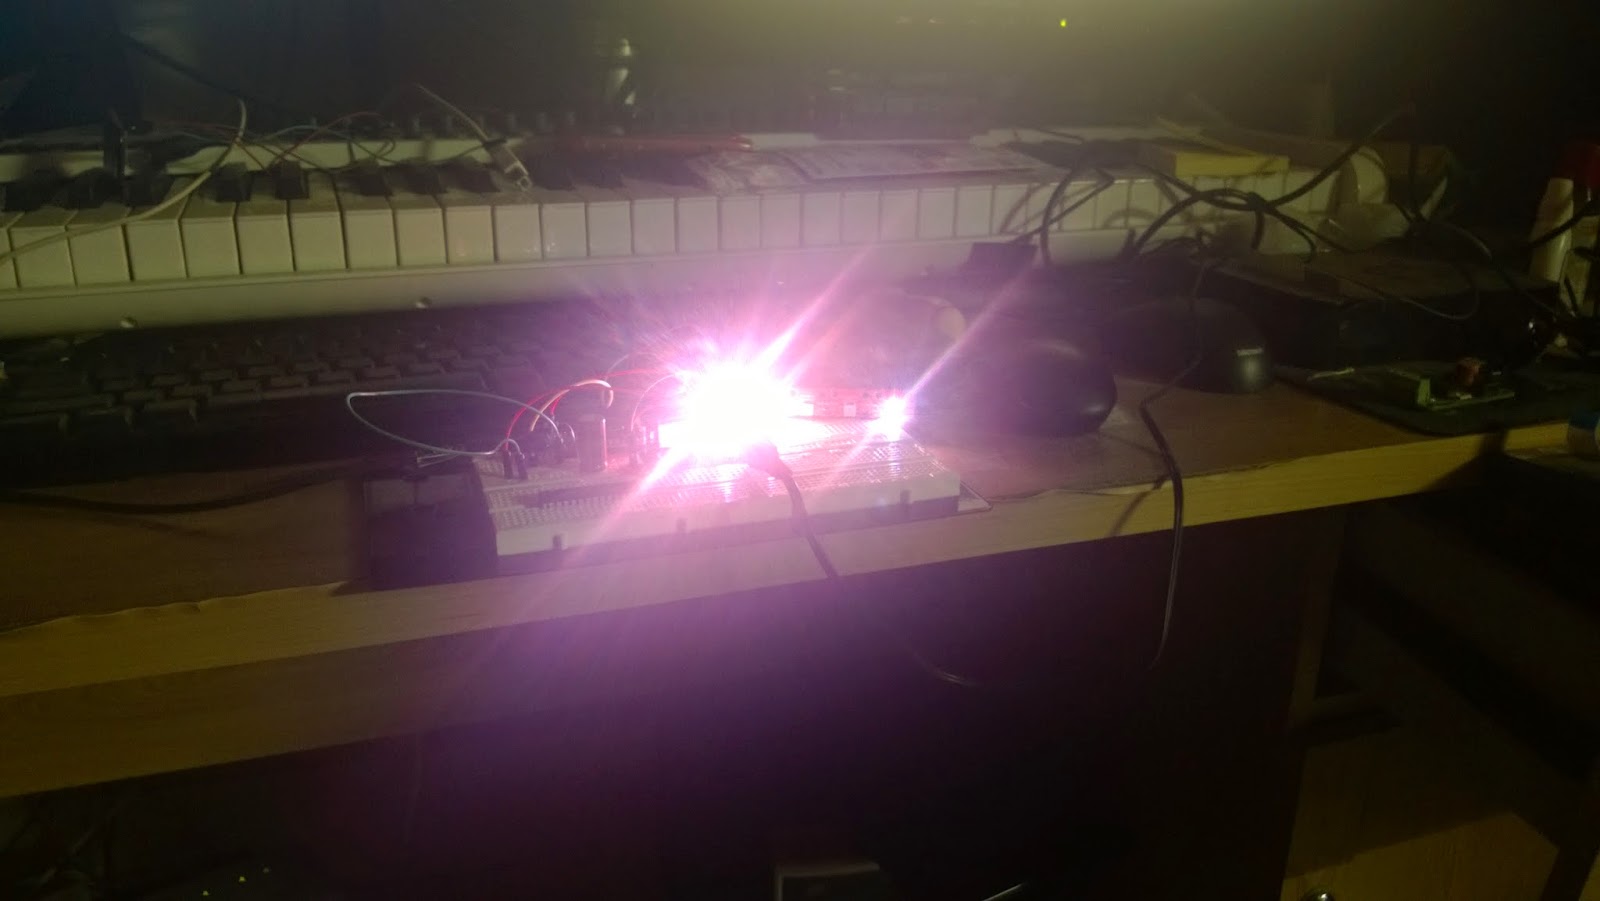
Here is a quick 101 to connect a bunch of WS2811 RGB LEDs to a Teensy 3.1 board and sync them to a track playing in Ableton Live by configuring the Teensy as a MIDI device. Each time Ableton plays a MIDI note it turns ON one of the LEDs. The amount of time the LED remains in the ON state depends on the note length.
I have used 5 leds for this, each LED is a breakout board which has been chained to the other modules as you can see in the pictures below. The LEDs being heavy on current requirements, an external power supply has been used. Make sure to power the Teensy with a 5V power supply. The DIN pin needs 5V output for a decent error free operation. [With a 3.3 V power supply to the Teensy the LEDs were displaying false colors]. A 1000uF capacitor is required at the supply pins of the LEDs for protection. Also a 100 Ohm resistor must be in series with the DIN pin to reduce high frequency ringing and noise.
The WS2811 LEDs have strict timing constraints for control and follow a certain protocol as mentioned in the datasheet. I have used the Adafruit Neopixel library to control the LEDs. This library has got an implementation for the Teensy boards and can be found here.
Before compiling the code switch the Teensy 3.1 USB type to USB MIDI from the Tools Menu. Once programmed the Teensy will be detected on the host machine as a USB Audio Device. Only after the Teensy is recognized by the machine, start Ableton Live. If you do not know what Ableton Live is, click here (duh). This is necessary because Ableton Live will not detect MIDI devices after it starts up i.e. no hotplug capability. To confirm that Ableton has detected the device, goto Preferences and check USB Audio Devices detected by Ableton as shown in the image below.

To allow Ableton to send MIDI information from a track to the Teensy, the MIDI routing of the track needs to be changed. Bring up the IO options for MIDI tracks in the Clip / Arrangement View and select the MIDI To drop box to USB Audio. USB Audio Device will be available in the drop-down list of devices to which you can send MIDI. Next select the channel (right below the MIDI To box) to send this MIDI information. Note down the channel number for the track as you will have to use it in code. The image below show the basic setup.


Some images of the setup and the LEDs in action. CAUTION: These LEDs are exceptionally bright. DO NOT LOOK directly into them. Use a diffused material to shield or a camera or perhaps some shades to look at them..

A State of Trance on my desk :P

Shot at a lower ISO and high shutter speed


On the Teensy i used the following code to read MIDI information and based on the channel turn ON/OFF the corresonding LED. The color for the LEDs is randomized. You will also have to create a duplicate MIDI track for the actual instrument and route the MIDI to the USB Audio Device. This way you can simultaeneously listen to the track and send MIDI to the Teensy.
1 comment:
cool. after some hours of browsing the different ways making live talk to neopixels this seems to be one of the most simple ones. thanks for posting!
Post a Comment