Showing posts with label adafruit. Show all posts

Monday, April 4, 2016

Vibration Robot - Iteration 1 - Chaos

I was always fascinated with the Kilobots developed by Harvard and their amazing capabilities when operated in massive swarms of self-organizing robots. I therefore decided to build my own prototype using modules easily available locally. This was not going to be a Kilobot clone but something different based on the same principle. So recently i managed to wrangle up a few breakout boards to make a vibration robot as shown below. The modules used are as follows

Main board - Arduino Lilypad (ATMega328) from Sparkfun. The reason i chose this was due to the large number of I/O and because the PCB is circular. 50 mm diameter, 17 mm more than that of the Kilobot, which is around 33mm.

Communications - Adafruit Bluetooh EZ Serial link. This board snugly fit on top of the Lilypads serial connector. The main board could now be programmed wirelessly over the BT Serial link.

Motor Driver - A Spakrfun TB6612FNG 1A Dual H-Bridge based motor driver for the vibration motors.

Power Source - A 400mAh Li-Ion battery similar to this. (External charger)


The orange colored housing for the motors is designed in my favorite CAD tool and 3D printed on me printer. The position of the holes  for mounting the screws was calculated from the board files supplied by Sparkfun. The motors were glued in their sockets. The entire assembly was held together using M3 screws through the Lilypad holes.


The block diagram of the system is shown below. The ATMega328 operates off the 3.7 V Li-Ion battery, which also powers the BT serial. The motor driver is powered from the 3.3V regulator on the BT serial board and draws maximum 2.2 mA of supply current, which is within spec of the regulator on the BT serial board as it can source maximum 100 mA. The driving voltage for the motors comes directly from the battery. Other control and PWM signals are connected to the arduino PWM and digital I/O pins.


And the end result after all that was - Chaos - as you can see in the video below. The robot is controlled via a windows phone application that i wrote which connected over BT serial to the bot. A single 4-Byte (integer) command was sent to the bot comprising of :

Byte 0 - PWM value for motor A (0 - 255)
Byte 1 - PWM value for motor B (0 - 255)
Byte 2 - Control signals for motors: Bit 1 - Motor A CCW, Bit 2 - Motor B CCW, Bit 3 - STANDBY/STOP
Byte 3 - Reserved.


The objective was to send varying PWM values to the motors to observe a linear motion along a straight line and characterize the 2DOF aspects of the system. Not shown in the video is my phone through which i am controlling the robot by varying the PWM to the motors.


Further iterations will include several improvements over shortcomings in the current design - thinner wires, smaller or custom boards etc. Thanks for watching...


Saturday, October 4, 2014

Wireless RGB Light Control (Adafruit BT + NeoPixels)

This is a massive upgrade to my earlier project that i posted a couple a days ago here. The interface using the RoundButtons from Coding4Fun toolkit looks much cleaner and aesthetic. More features like controlling the light intensity, single tap color change, turning off all the LEDs on the shield, reflection of a hardware reset in the phone UI etc. The paragraphs below briefly detail out the two main components.

The Roundbuttons - Created using the RoundButton class from coding4fun toolkit. These buttons have two event handlers registered in the code, one for Hold and other for a Click. Holding a button for a certain duration causes the color selector window to pop up. This window has a Hexagon color picker interface created using the same coding4fun toolkit. Touching and dragging your finger on this picker will update the selected RGB LED color in real-time. Once a color is selected it can be applied to one or more LEDs by clicking on them, this is handled by the Click event handler.

The ColorPicker - The hexagon color picker has a handler registered to it's Color Changed event. The color data received is framed in a transmission packet and sent over the BT interface to the Arduino board in this handler. Adjusting the slider below the color picker adjusts the brightness of the LEDs. The Turn Off button turns off all the LEDs on the shield and also clears the button background color on the UI.


Implementation

All the round buttons used, follow the xaml template shown below. 40 buttons have been created using the same xaml statement. The only difference is the Name field which is unique for each button. The buttons are placed inside a Grid component therefore the (0, 0) grid position corresponds to the upper left LED near the Reset button on the RGB shield. the buttons have been named in a similar pattern. The button inside the     (0, 0) grid cell is named a_a, the button in cell (0, 1) as a_b, (1, 0) as b_a and so on. All buttons have the same Click and Hold event handler.

When the application is started it establishes a connetion with the Arduino BT shield, which exposes serial ports to the Arduino. (The shield uses the BT Serial Port Profile) The read / write operations on the arduino are done using the softwareserial library at 9600 baud. On the phone side, DataReader and  DataWriter objects are created to read from the Socket (StremSocket class). The socket connects using the ConnectAsync call in the StreamSocket class.

When a button is held for a specific amount of time the Hold Event occurs. This triggers the hold event handler and opens another window that displays the hexagon color picker. The hexagon color picker has a event handler attached to its ColorChanged event. When you touch the color picker and move your finger over it, the ColorChanged handler is continuously called. The OS passes the sender and the Color to the event handler. Inside the event handler, the serial packet to be transmitted to the arduino is built. It has the format as shown below. Hence if i click on button (2, 3) in the grid with full green color selected on the color picker then the packet will be

c_d_0_255_0


As the data is sent as a String the "_" is used as a separator. This command will be parsed on the Arduino. Since the X and Y co-ordinate positions in the command are fixed at offsets 0 and 2 respectively the value can be easily obtained by doing a (int)command[0] - 97. extracting the color values requires a little processing. This value can be then sent to the NeoPixel Library. The intensity adjustment follows a similar format with a smaller packet and a command identifier as 'I'. An alternative method would be to send the numerical values corresponding to the buttons directly. But i could not find any means to figure out which button inside the grid had been clicked without using the Name property....(duh)

When the arduino is reset all LEDs on the phone UI need to be turned off. This is accomplished by sending the string "RESET" from the Arduino to the phone. The phone maintains a journal in an custom LEDManager class about the LEDs that are currently active. When the reset command is received, using the DependencyObject with the grid as the parent and the VisualTreeHelper class, a list of all buttons in the parent is created, then iterating over the List, each button's background color is set the to the OFF color which is black. Similarly when the Turn Off button is clicked on the color picker interface it sends a "OFF" command to the Arduino, turning off all the LEDs and clearing the UI.

Most of the actions are demonstrated in the below video where you can see me messing around with the LEDs.


Some Usage scenarios
1. Arduino Powered Up, Windows phone BT turned ON, Application start
In this case the serial link is established between the phone and the arduino hardware and the data packets are exchanged normally between the two.

2. Arduino Powered Up, Windows Phone BT turned OFF, Application start
In this case the application will open a message box indicating the the phone bluetooth connection is turned off. The application UI will be disabled. Application will have to exit and be restarted once the phone BT is turned ON

3. Arduino OFF, Whindows phone BT turned ON, Applicatino start
- Undefined behavior. Application runs without crashing. Re-connect will not happen even when the board is powered up. The application needs to be restarted.

Future upgrades include hooking up the shield with Facebook API, group control of LEDs, Gesture controls, using sensor interfaces on the WP8 to manipulate LED colore etc. Now this is one hell of a way to learn Windows Phone Programming....

References: 
Bluetooth communication between Arduino and Windows 8.1
Windows Phone API Reference


Where is all the code ? Here is the code running on the Arduino. The Windows Phone code will make this post the longest ever. Therefore i leave it up to you to implement.


Sunday, September 28, 2014

Adafruit NeoPixels + Windows Phone 8

This is something that i wanted to do since a long time. Individual control of RGB LEDs on the Adafruit NeoPixel Shield over a bluetooth connection using my Lumia 920 running the Windows Phone 8, After extensively surfing MSDN help articles on WP8 APIs etc - Finally finished it this weekend.

Find the updated design, click here

In brief the design goes like this - An Adafruit NeoPixel shield containing 40 WS2812B 4-pin chip RGB LEDs in a 5 x 8 matrix pattern is mounted on an Adafruit Bluetooth Shield, the EZ Link which is stacked over an Arduino UNO. The code running in the Arduino reads the commands received on the serial bluetooth link, parses it and controls the RGB LEDs. The command packet sent from the Windows Phone consists of 5 fields - two fields for the X and Y co-ordinates of the LED and 3 fields for the R,G and B data obtained from the color picker.

The application on the windows phone is simply a grid of tiles created using the Coding4Fun WP toolkit. Each tile is identified uniquely by its name. Each tile can be set to a different color when clicked and has a one to one mapping with the LEDs on the adafruit shield. The color can be previewed in realtime. Some application statistics and setup are shown in below images. Once the code is well-organized i shall put it up here, and no, i did not write 40 event handlers for each of the tiles. There is only one event handler to rule them all :P

Once powered up the Arduino waits for a command on the BT Serial interface. When the application is started on the windows phone it establishes a connection with the BT module. On clicking any of the square tiles in the main application window another window opens up from where the color for that particular LED can be chosen. Alternatively all the LEDs can be turned off using the Turn Off button. The two wires in the pic below are the RX/TX pins from the BT shield connected to the Arduino over the SoftSerial interface...


P.S - The red color of the tiles is the default theme color on application startup. The LEDs do not get affected by this color unless programmed to


Here is an earlier experiment with a s ingle RGB LED breakout using Processing. The code for this can be found in the description of the video....


Monday, June 9, 2014

Arduino + Internet of Things - Part I

...IoT...

The term "Internet of Things" is used to describe a system where the Internet is connected to the physical world via ubiquitous sensors [1]. In an article dated June 22, 2009 in the RFID Journal Kevin Ashton said - 

Today computers—and, therefore, the Internet—are almost wholly dependent on human beings for information. Nearly all of the roughly 50 petabytes (a petabyte is 1,024 terabytes) of data available on the Internet were first captured and created by human beings—by typing, pressing a record button, taking a digital picture or scanning a bar code. Conventional diagrams of the Internet include servers and routers and so on, but they leave out the most numerous and important routers of all: people. The problem is, people have limited time, attention and accuracy—all of which means they are not very good at capturing data about things in the real world.

And that's a big deal. We're physical, and so is our environment. Our economy, society and survival aren't based on ideas or information—they're based on things. You can't eat bits, burn them to stay warm or put them in your gas tank. Ideas and information are important, but things matter much more. Yet today's information technology is so dependent on data originated by people that our computers know more about ideas than things.

We need to empower computers with their own means of gathering information, so they can see, hear and smell the world for themselves, in all its random glory. RFID and sensor technology enable computers to observe, identify and understand the world—without the limitations of human-entered data.


Gartner Inc. states that the Internet of Things will grow to 26 billion units installed in 2020, representing an almost 30-fold increase from 2009. Furthermore, Gartner said that IoT product and service suppliers will generate incremental revenue exceeding $300 billion, mostly in services, in 2020. The market research firm further states IoT will result in $1.9 trillion in global economic value-add through sales into diverse end markets.Is IoT the latest hype ? Most of the opportunities predicted from IoT are nothing new. Everything will be connected but most those items like cars, appliances, printers, etc. have been talked about for more than a decade. The big differentiator this time is advanced sensor technology, but how long before these sensors become commodities? OK, so most of these devices will be IPv6, but what's the big deal about what standards they use to communicate? Most of the chatter about IoT seems to be evolutionary, not revolutionary. [2]

Data is all around us, data we cannot see - Dark Data. If harnessed properly this data can be quantified and utilized to make this planet a better place to live (jeezz...). Unless people make smart use of IoT it will just remain in the evolutionary stage.  Everthing will just remain an Internet-of-Thermostats...

Allright, i am fed up gathering data visit this link to read further.

That Temperature Thing...

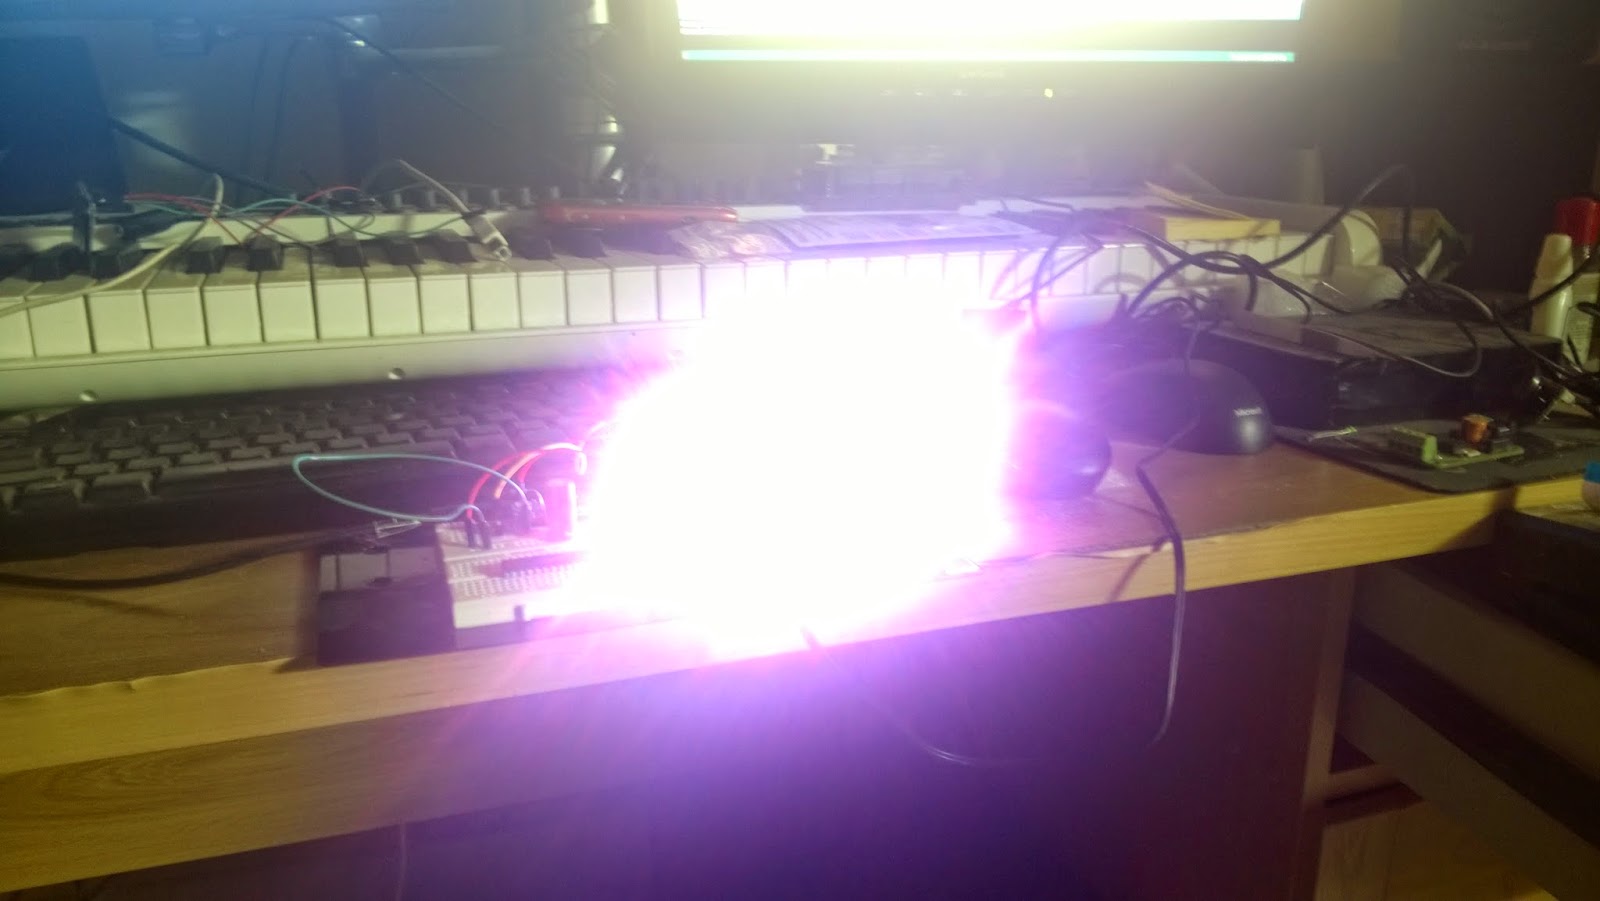
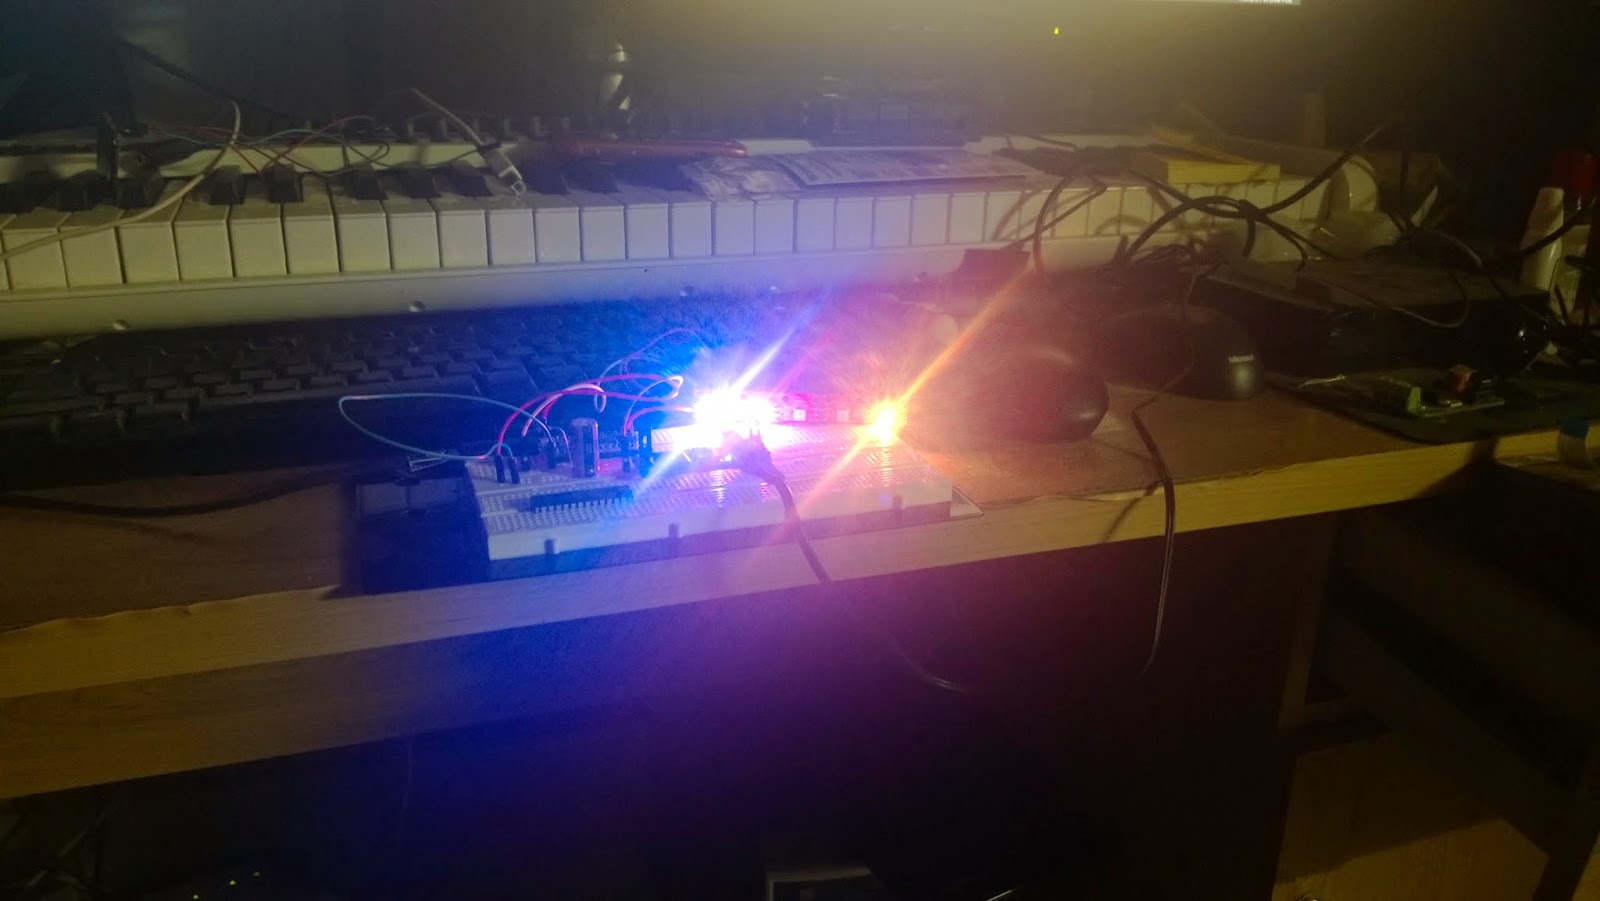
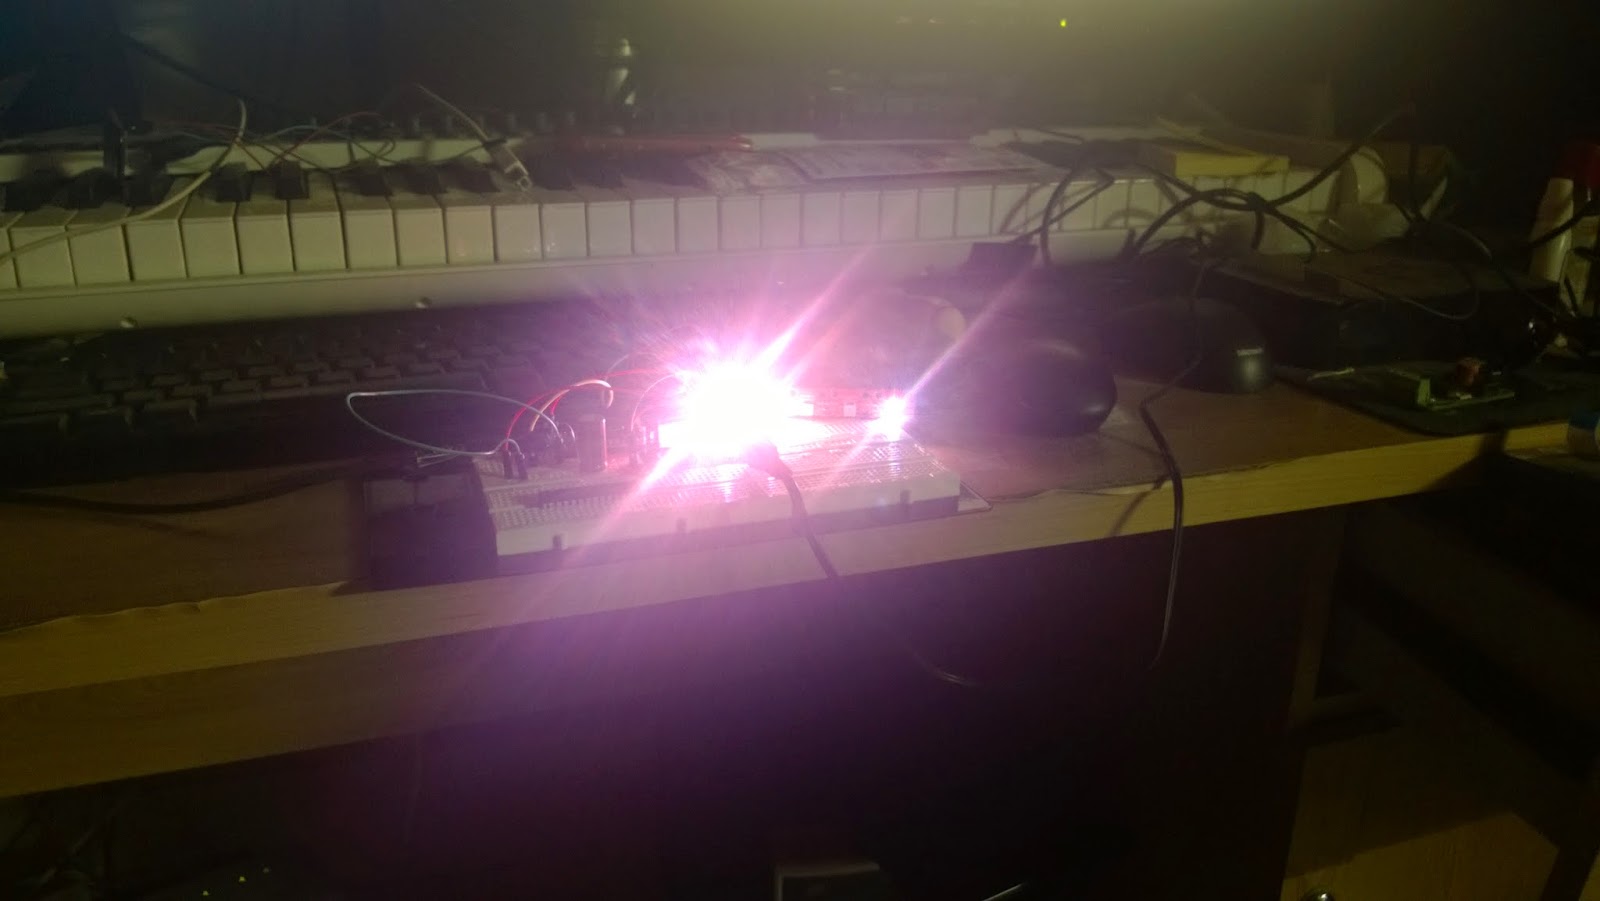
Now to the real content for which this post is meant for. In a nutshell - i've used the Sparkfun Weather shield connected to the Arduino to send the temperature, humidity and luminosity data of my room to a Xively server using a Adafruit CC3000 TI WiFi sheld. This is the stacked up assembly. The bottom board is an Arduino Uno R3, in the center there is the Adafruit  WiFi shield and the Sparkfun weather shield on top. Pretty neat arrangement eh ? Rapid prototyping at it's finest with such boards available...


The data is displayed on the Xively website. Surprisingly i have observed that the data transmission to the server is slow. It takes approximately 40 seconds after a connection has been established with the server to upload the JSON formatted data using the UNO R3. The entire code for the Arduino sketch is shown below and some screenshots from the Xively site. Most of the code has been adapted from Adafruit's learning site with minor modifications by me for the weather shield. Does a demo like this come under the hood of IoT ? Well, right now, if i stop this project here, then No, it does not. The data is merely being displayed, it does not control any-thing or talks to any other thing to modify that thing's behavior. This just validates the platform on which future IoT applications aspire to run on...


The light levels started to increase from 05:53 hrs in the morning as seen in above graph.
The sunrise time as per local weather station data was indeed 05:53 A.M

It is pretty hot out here. Those spikes you see are me turning off the air cooling of my room. 37.99 degrees celcius was the maximum temperature hit inside my room...after which i turned on the air conditioning

If you are reading this post and have some information to share on the CC3000 as to why it takes so much time to push data to the website, leave a comment below. Thanks for reading through...


And that's a big deal. We're physical, and so is our environment. Our economy, society and survival aren't based on ideas or information—they're based on things. You can't eat bits, burn them to stay warm or put them in your gas tank. Ideas and information are important, but things matter much more. Yet today's information technology is so dependent on data originated by people that our computers know more about ideas than things. - See more at: http://www.rfidjournal.com/articles/view?4986#sthash.uvAv1voe.dpuf
Today computers—and, therefore, the Internet—are almost wholly dependent on human beings for information. Nearly all of the roughly 50 petabytes (a petabyte is 1,024 terabytes) of data available on the Internet were first captured and created by human beings—by typing, pressing a record button, taking a digital picture or scanning a bar code. Conventional diagrams of the Internet include servers and routers and so on, but they leave out the most numerous and important routers of all: people. The problem is, people have limited time, attention and accuracy—all of which means they are not very good at capturing data about things in the real world. - See more at: http://www.rfidjournal.com/articles/view?4986#sthash.uvAv1voe.dpuf

Friday, April 18, 2014

Freetronics OLED + Accelerometer

  531 on Z-Axis, seriously !!

This time i decided to interface the 128x128 OLED display from Freetronics to the Teensy 3.1 and have it display the ADXL 345 accelerometer data as a graph for all three axes. The OLED uses the SPI interface and the library provided by Freetronics which can be found here. The ADXL345 interfaces over the I2C bus. You can choose to use the Wire library or the one provided by Adafruit (which internally calles Wire API anyways) which has a few more features. Interfacing all of the above and getting the data from the accelerometer are pretty simple. Displaying the graph on the OLED was a tad nasty business as detailed below.

As per the wiki, the OLED origin (0, 0) lies in the lower left corner. The Y-axis goes up vertically and the X-axis horizontally. To display the graphs in the center of the OLED an offset of 64 needs to be added to plot the data over the Y-Axis. The data coming from the accelerometer needs to be displayed as a graph in realtime. This data needs to be stored somewhere and represented on the graph. The graph is defined as follows - X-axis plots the sample number and Y-Axis the value of that sample. As we have only 128 pixels along X, the sample buffer will be of size 128 shorts. XSamples[128]. As we are plotting all accelerometer data along the X-axis, all sample buffers will be of size 128. As far as the Y-axis is concerned we have max 64 positive and negative values above and below the main axis. Negative values from the accelerometer will appropriately map to a positive value within the range 0 to 63.


To draw the graph lines without taking too much time for drawing operations the method i used is shown above. In the simplest form it's just drawing a line from the current point to the previous point. Every point on the Y-Axis will have a co-ordinate of the form (sample_number, sample_value). Hence, if we have sample x[0] = 5 and the current sample x[1] = 3 then, the parameters to drawLine API of the OLED will be nothing but (1, 3, 0, 5) or (1, x[1], 0, x[0]) or in general form for a sample s (s, x[s], s-1, x[s-1]). Note that s has to start from a value of 1 and that a certain offset needs to be applied to the Y-axis values to display the graph, if the image above makes any sense, i shall leave that for you to figure out. Yes, i am mean. 

After all 128 samples have been plotted it's necessary to clear the OLED screen to display a new graph. This will cause your display to flicker every 128 samples. I am working on a method to do this without using clearscreen and will post shortly.

The final result is shown in the header image above of the oled displaying the accelerometer data while i shake the breakout board. As it can be seen that the z value looks way too high, yet still being plotted properly. This is because of the fact i am sprinteffing the data into a buffer and the values stick in the buffer like ghosts of previous samples inspite of a memset to 0 operation. Note to self - bust these ghosts...


Monday, March 31, 2014

Ableton Live + WS2811 RGB LEDs

Here is a quick 101 to connect a bunch of WS2811 RGB LEDs to a Teensy 3.1 board and sync them to a track playing in Ableton Live by configuring the Teensy as a MIDI device. Each time Ableton plays a MIDI note it turns ON one of the LEDs. The amount of time the LED remains in the ON state depends on the note length.
 
I have used 5 leds for this, each LED is a breakout board which has been chained to the other modules as you can see in the pictures below. The LEDs being heavy on current requirements, an external power supply has been used. Make sure to power the Teensy with a 5V power supply. The DIN pin needs 5V output for a decent error free operation. [With a 3.3 V power supply to the Teensy the LEDs were displaying false colors]. A 1000uF capacitor is required at the supply pins of the LEDs for protection. Also a 100 Ohm resistor must be in series with the DIN pin to reduce high frequency ringing and noise.

The WS2811 LEDs have strict timing constraints for control and follow a certain protocol as mentioned in the datasheet. I have used the Adafruit Neopixel library to control the LEDs. This library has got an implementation for the Teensy boards and can be found here.

Before compiling the code switch the Teensy 3.1 USB type to USB MIDI from the Tools Menu. Once programmed the Teensy will be detected on the host machine as a USB Audio Device. Only after the Teensy is recognized by the machine, start Ableton Live. If you do not know what Ableton Live is, click here (duh). This is necessary because Ableton Live will not detect MIDI devices after it starts up i.e. no hotplug capability. To confirm that Ableton has detected the device, goto Preferences and check USB Audio Devices detected by Ableton as shown in the image below.


To allow Ableton to send MIDI information from a track to the Teensy, the MIDI routing of the track needs to be changed. Bring up the IO options for MIDI tracks in the Clip / Arrangement View and select the MIDI To drop box to USB Audio. USB Audio Device will be available in the drop-down list of devices to which you can send MIDI. Next select the channel (right below the MIDI To box) to send this MIDI information. Note down the channel number for the track as you will have to use it in code. The image below show the basic setup.


Some images of the setup and the LEDs in action. CAUTION: These LEDs are exceptionally bright. DO NOT LOOK directly into them. Use a diffused material to shield or a camera or perhaps some shades to look at them..


    A State of Trance on my desk :P

   Shot at a lower ISO and high shutter speed


On the Teensy i used the following code to read MIDI information and based on the channel turn ON/OFF the corresonding LED. The color for the LEDs is randomized. You will also have to create a duplicate MIDI track for the actual instrument and route the MIDI to the USB Audio Device. This way you can simultaeneously listen to the track and send MIDI to the Teensy.